VMware Hybrid Cloud Extension is a mobility platform which is designed to simplify application and workload migration and rebalancing. It also provides business continuity across datacenters and clouds.
In this post I explain how we deploy HCX on VMC on AWS, on-prem and then pairing them together, This is the basis on how we can use HCX to migrate migrate one or more on-prem VMs (or in this case, a test VM in my homelab) to VMC on AWS. There are number of ways in which this can be achieved, including re-IP of the VMs, live migration, scheduled migration. The details of the migration itself will be covered in an upcoming post.
First of, I’m going to assume you have set up a site to site VPN between your datacenter and VMC on AWS. If not, please check this post of mine for instructions on how this is done.
In this case, HCX is initially two components, one being the Cloud Appliance and one being the Connector. The Cloud appliance is deployed into VMC if you haven’t yet guessed by its name, and the connector deploys to your on-prem environment.
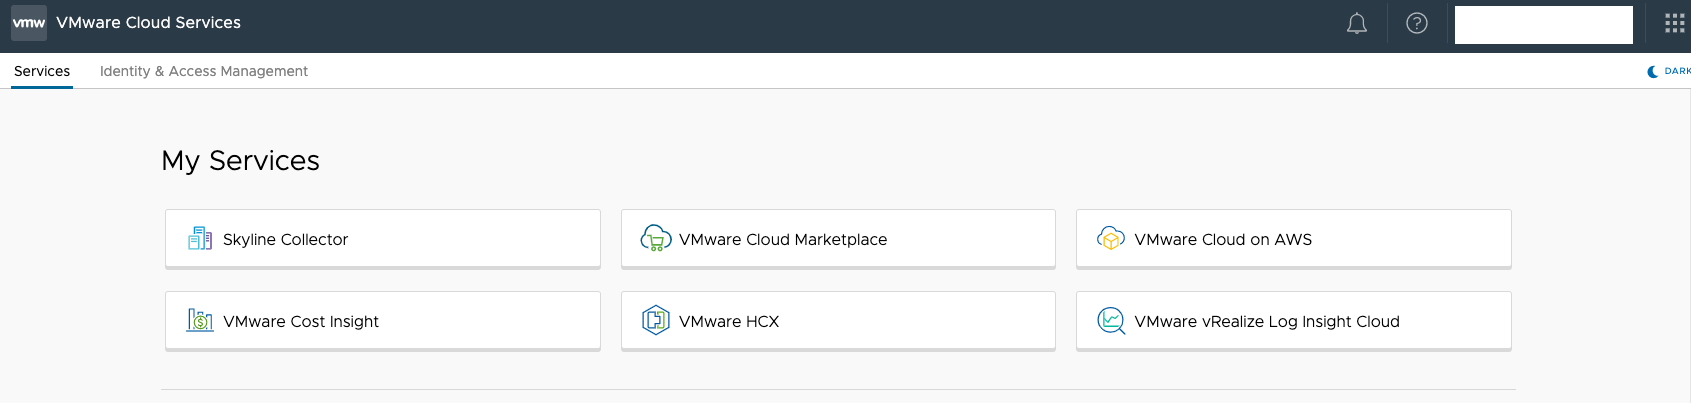
HCX is included with VMC on AWS and offers a relatively simple one click install from the Services page on VMC seen at bottom centre in the screenshot below.
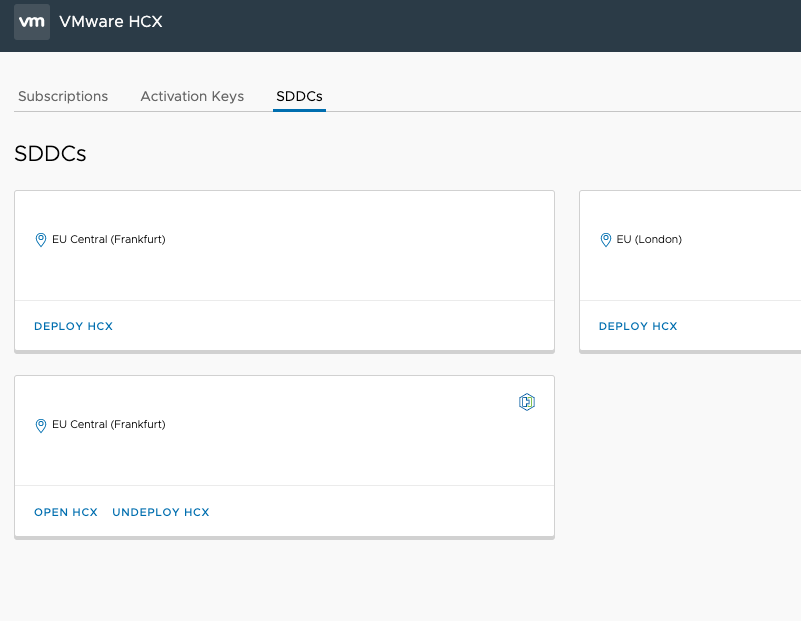
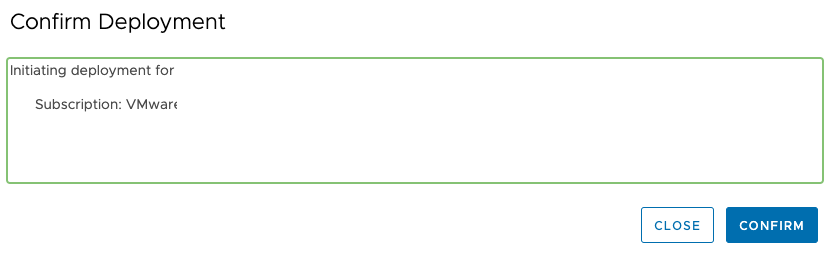
You may have to activate HCX within the SDDC settings before it can be deployed. I’ve already deployed it so I can’t repeat the process. Simply press ‘Deploy HXC’ and then ‘Confirm’ and go get yourself a cup of tea as it will take around 30 minutes to finish.
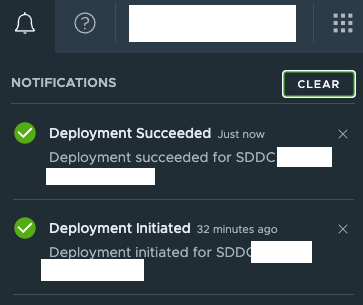
You’ll get a notification once it has finished deploying.
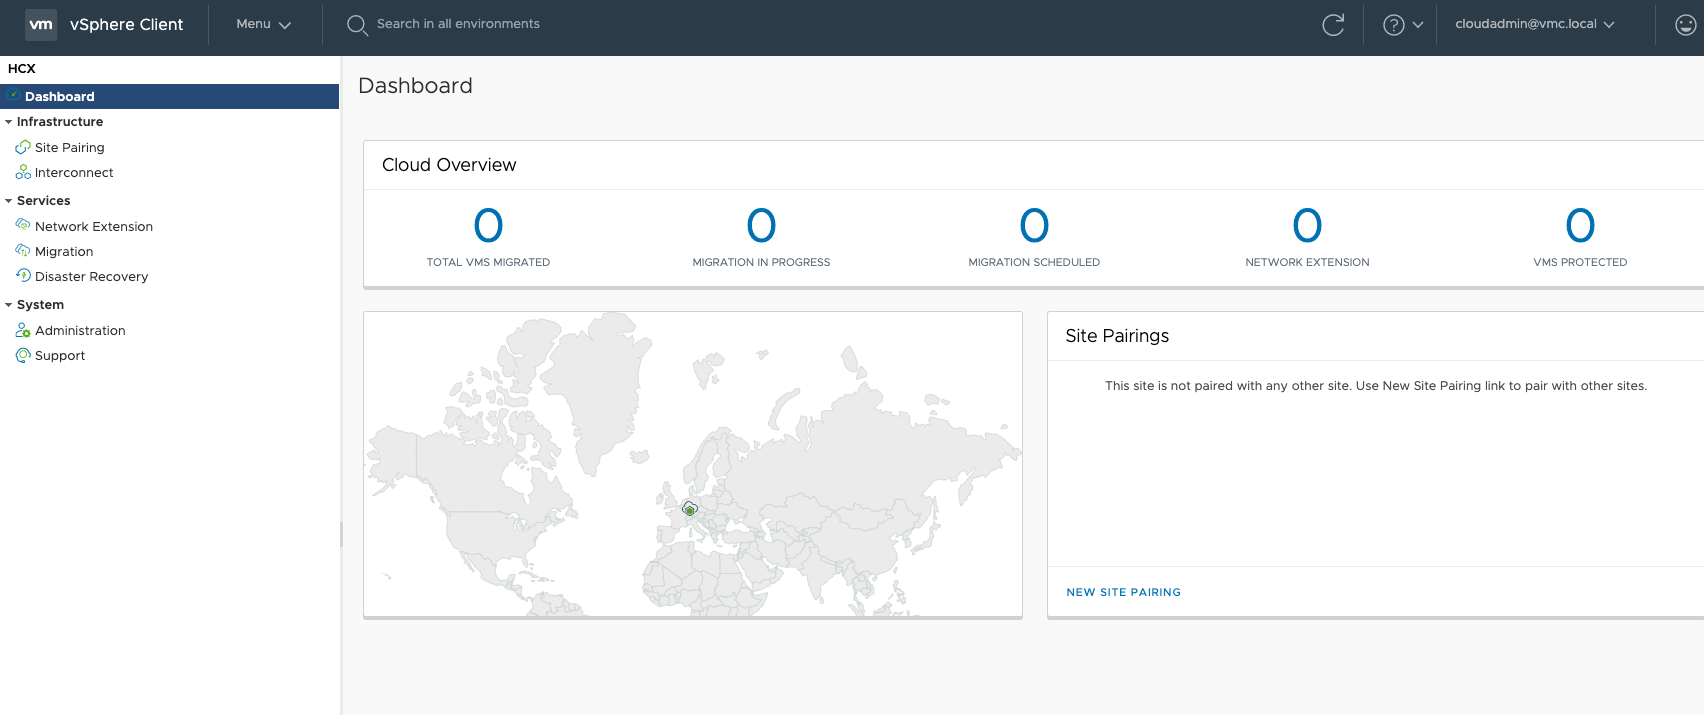
Once it has deployed, there should be a new plugin within vCenter to configure the HCX appliance.
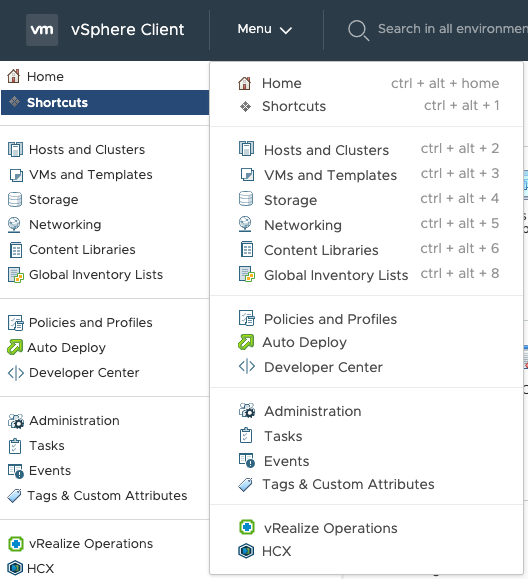
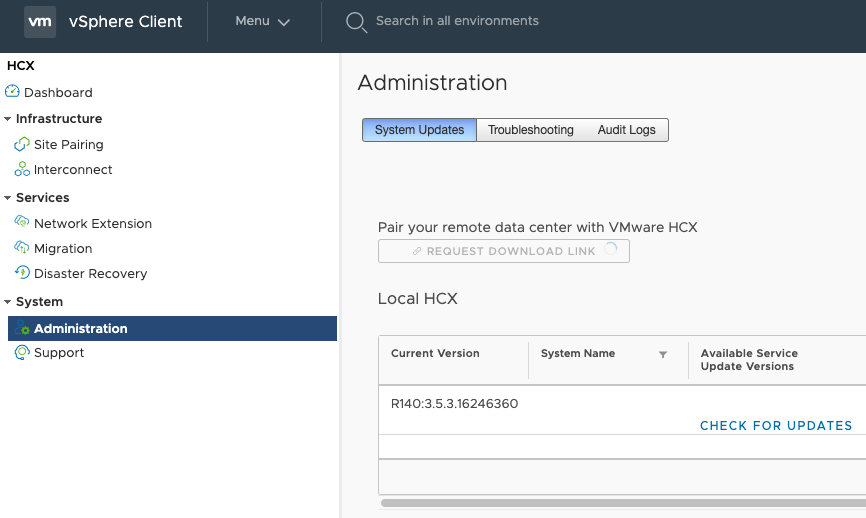
Once in this plugin, head to administration under system.
Then request download link to download the OVA file for the HCX Connector. Once this has downlaoded, deploy it into your on-prem datacenter.
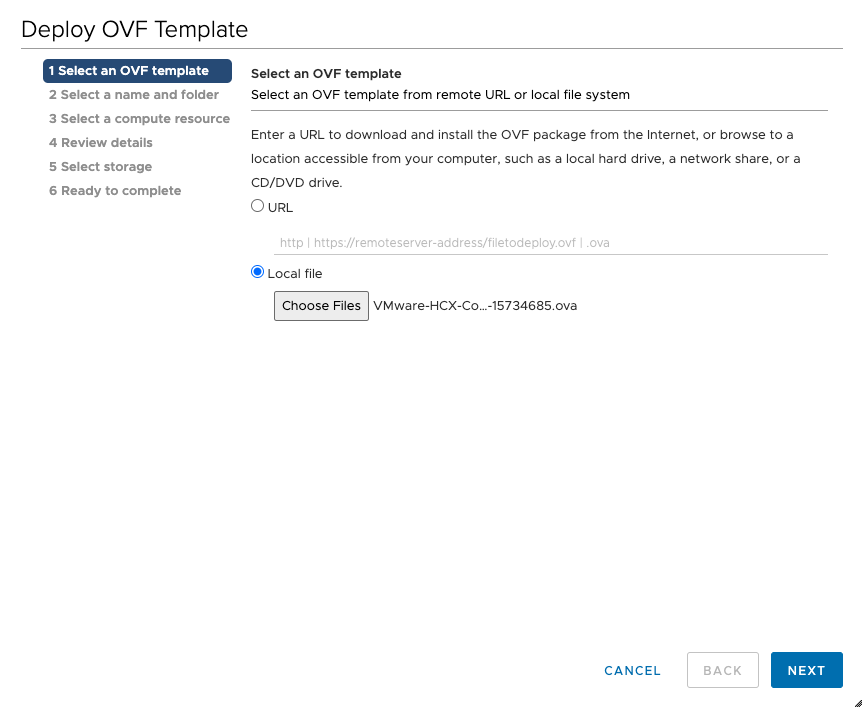
Deploying the OFV is relatively simple, albeit nowhere near as simple as the 1 click deployment on VMC! Right click on your host or cluster and select Deploy New Template.
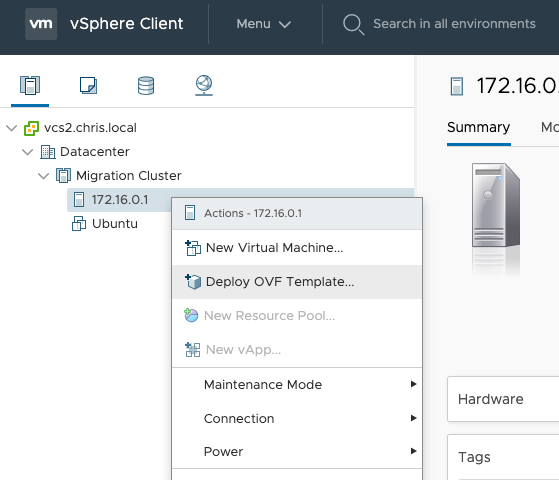
Choose the file which was downloaded from the link within HCX on VMC and click next.
Name the VM as appropriate and click next.

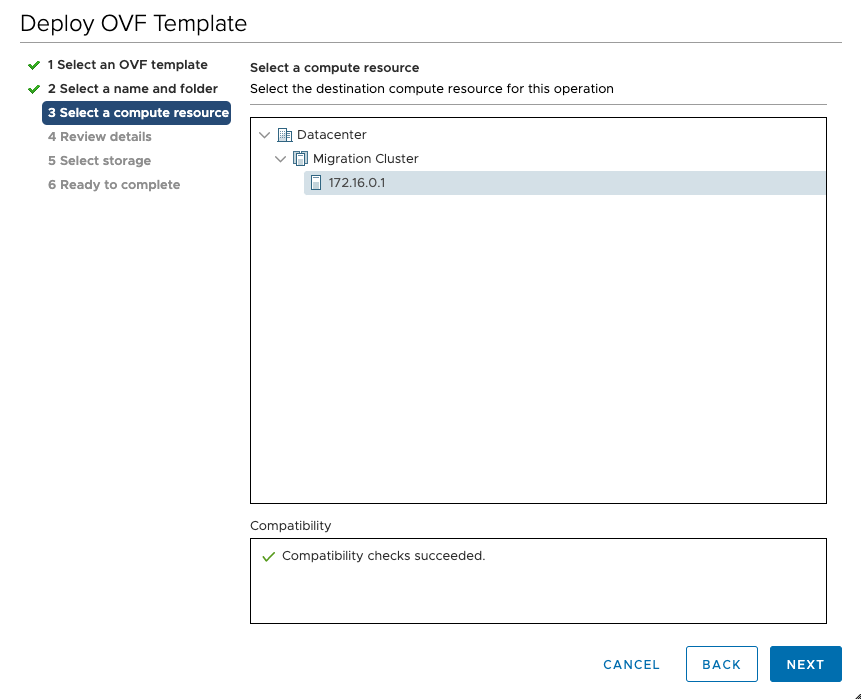
Review the compute resource and click next.
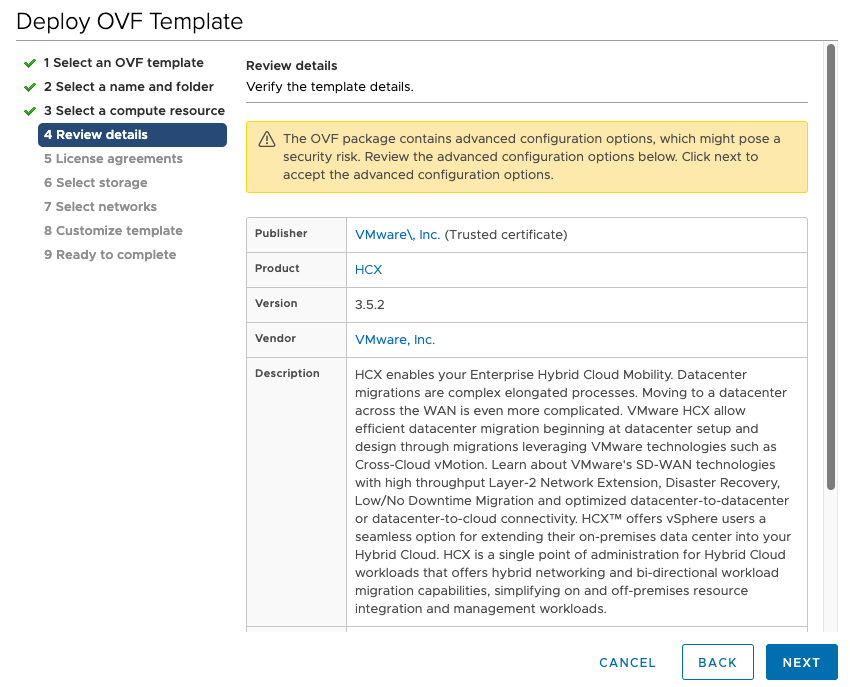
After validation, review the details and click next.
Accept the EULA and click next.

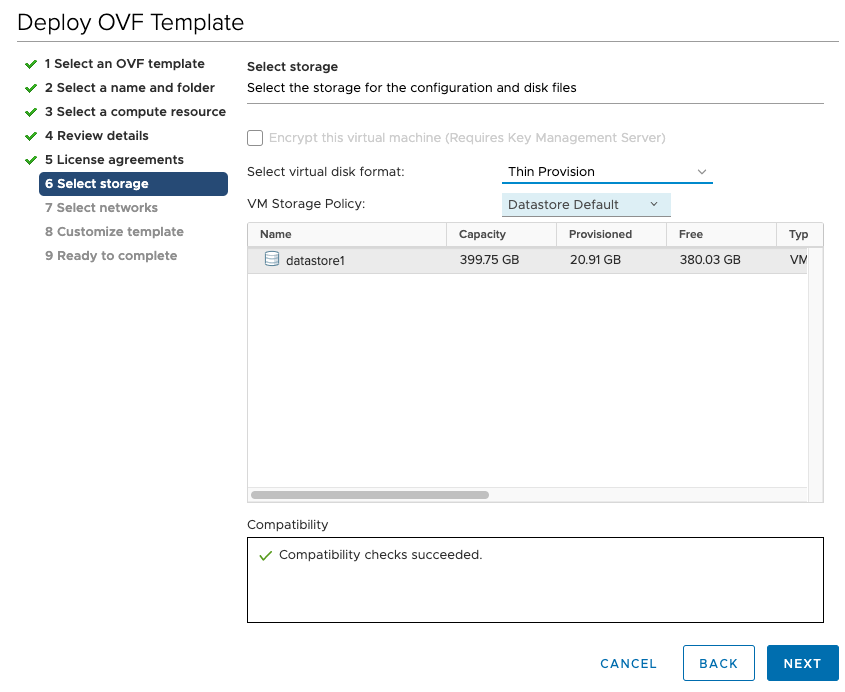
Choose an appropriate datastore and storage policy and click next.
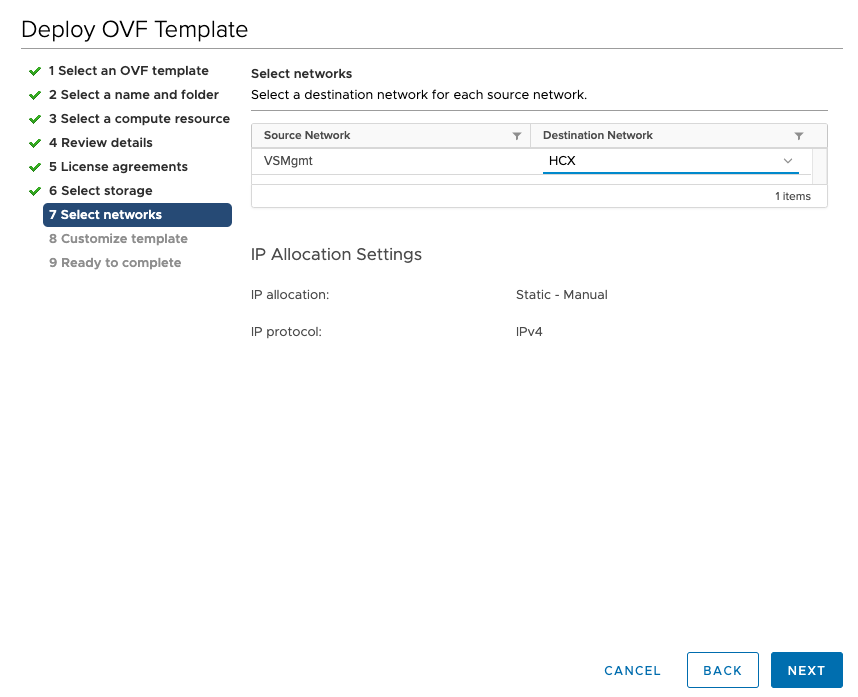
Choose an appropriate network and click next.
On the next screen, enter in the root password, admin password, network details and static route (if applicable, check with your network team).

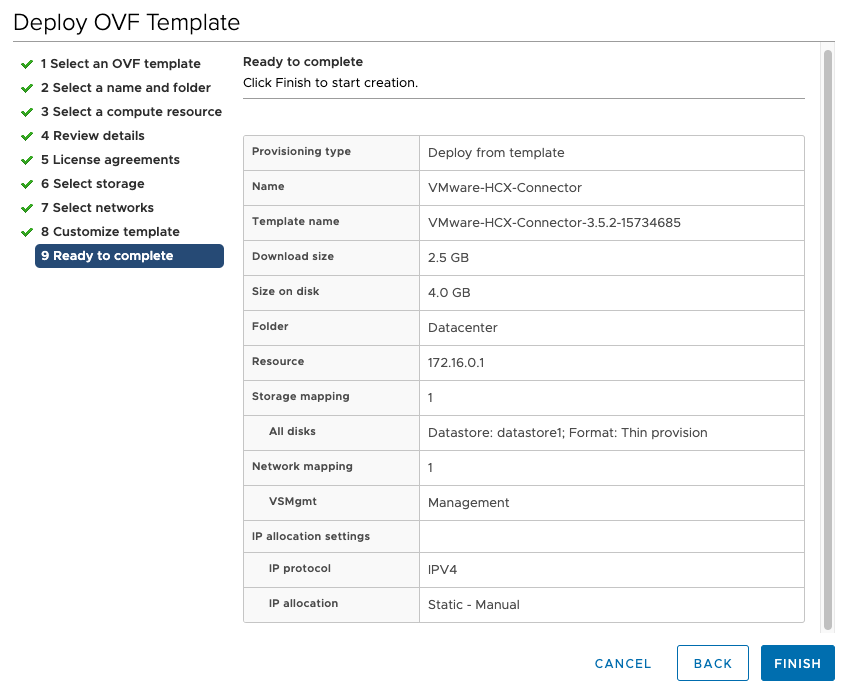
Then check all details and press finish when ready.
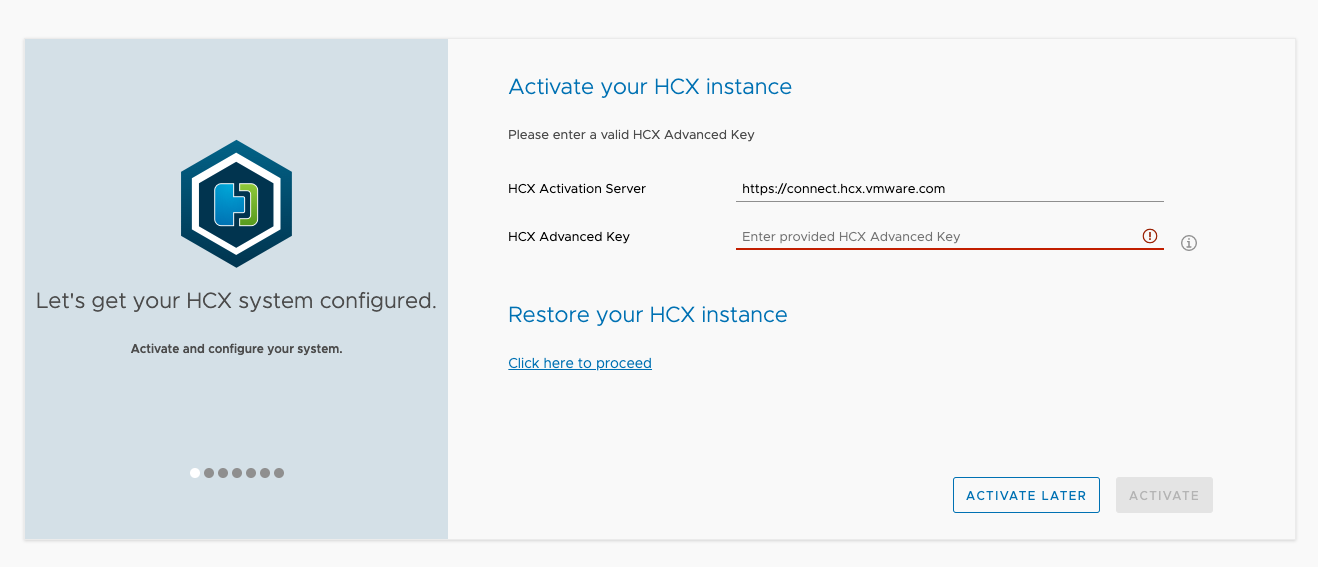
The VM will deploy. Once finished, power it on and after 5-10 minutes or so proceed to the admin page at https://hcx-ip-address:9443 and log in with the details entered during the deployment options. After logging in, you will have to activate HCX using your NSX Enterprise Plus license key.
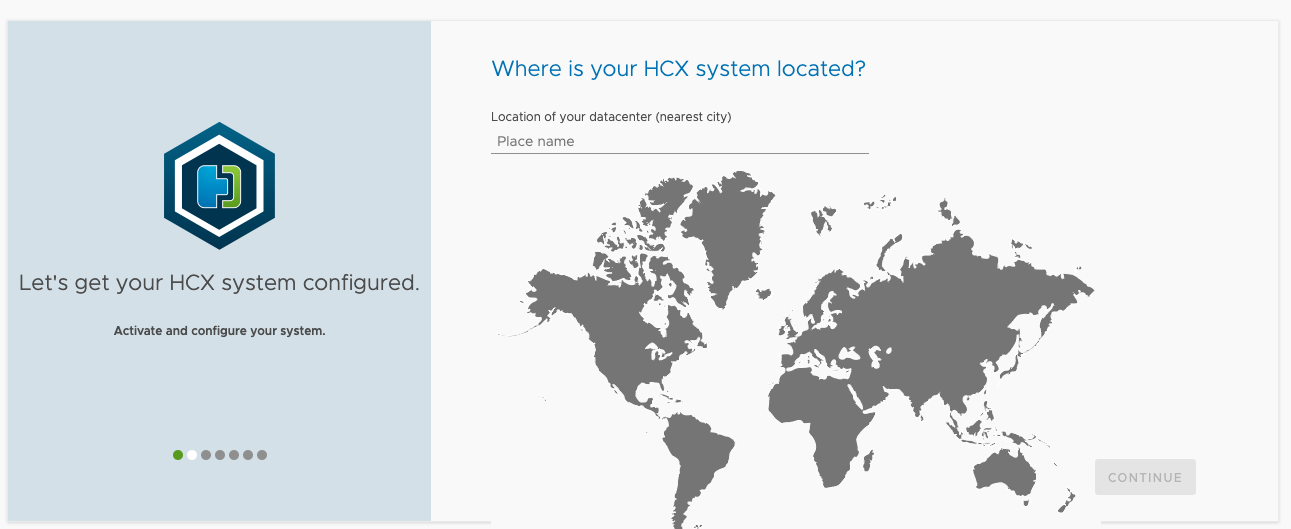
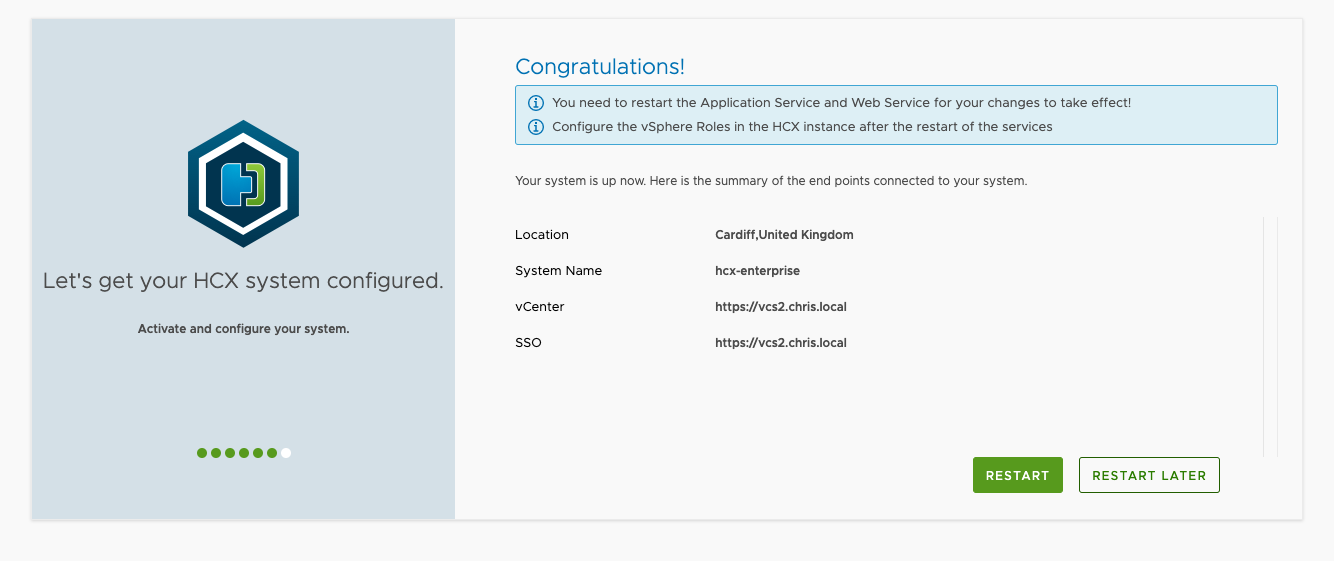
After activation completes, enter the system location.
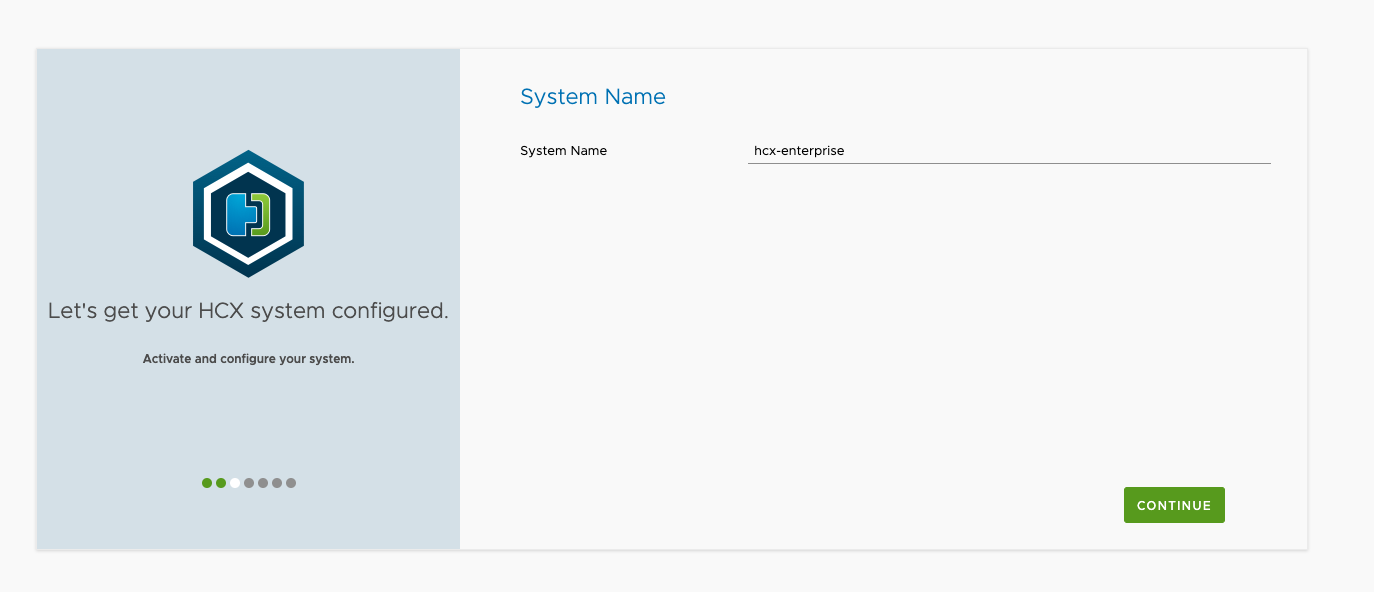
Then enter an appropriate system name.
Select continue to then register the appliance with your vCenter server.

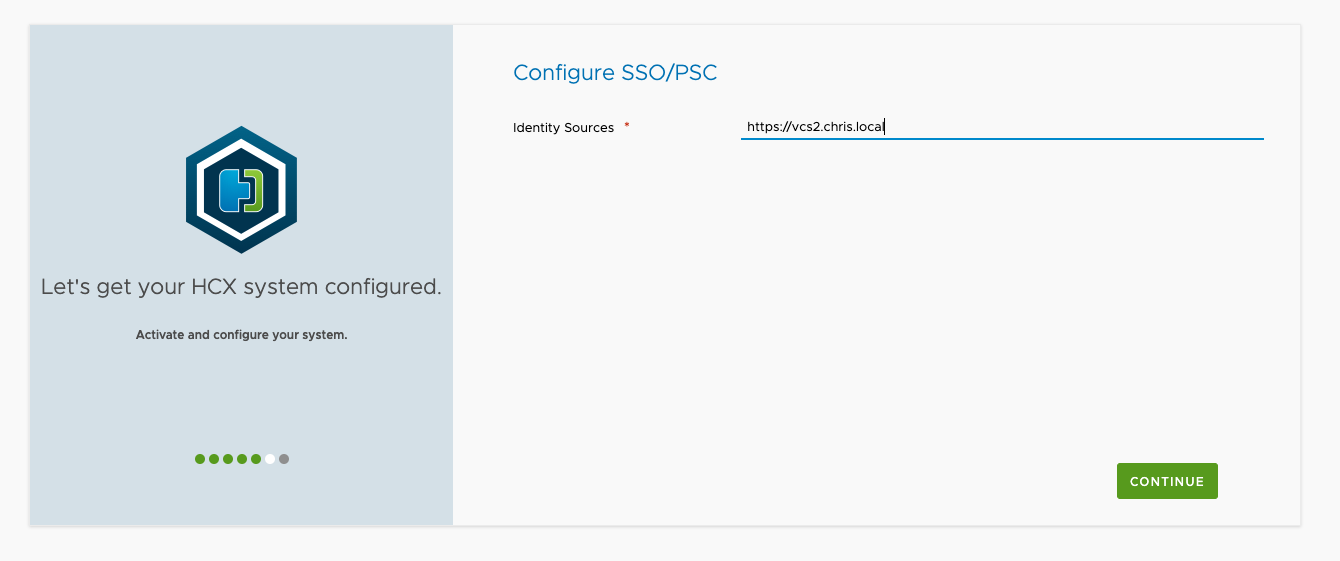
Enter the details and continue. You can connect HCX to your NSX Manager if you have it deployed, I don’t so I am skipping this step. NSX is not required on the source site. Next enter the SSO source, this will be the same vCenter server if you’re running embedded, or the PSO address if using an external PSO.
Next restart the services to finish configuring the appliance.
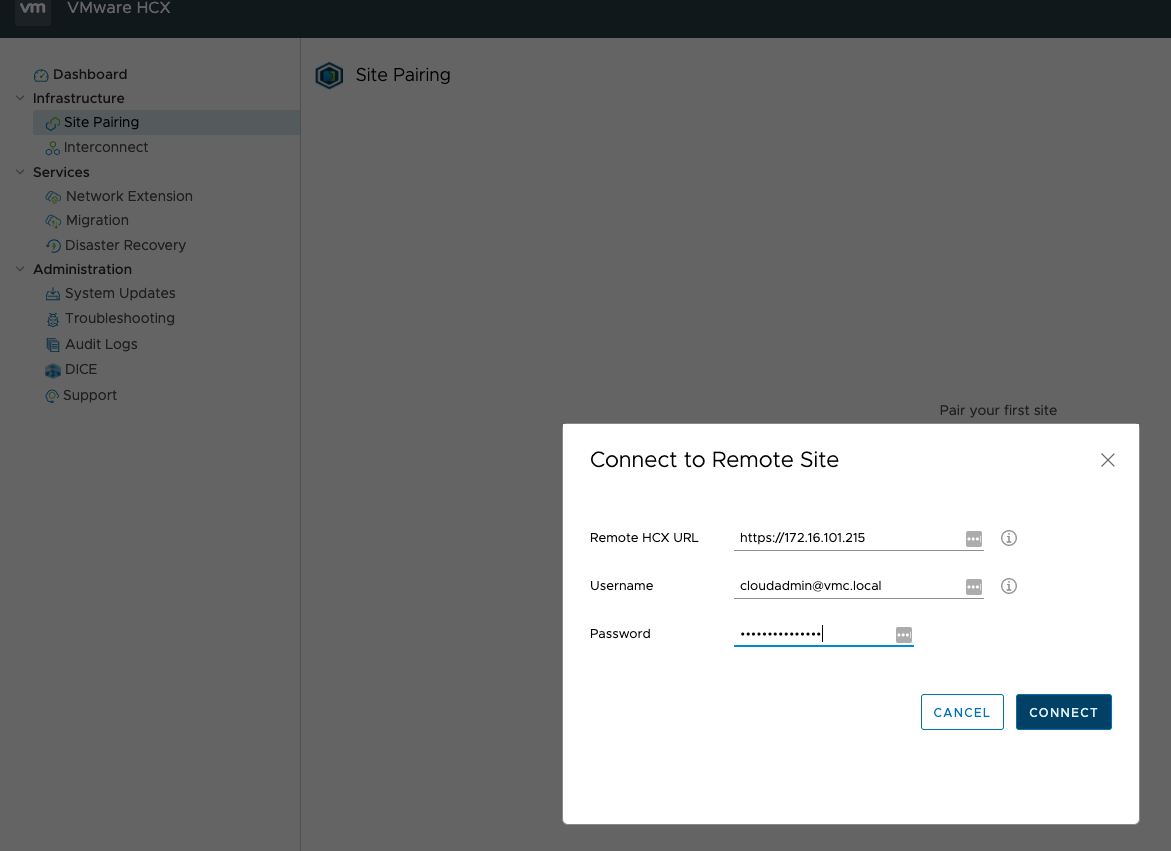
Once the services have restarted, head to the IP address of the HCX appliance and then Site Pairing. You’ll need to log in as a vSphere administrator. This will pair the HCX appliances in preparation to migrate workloads. The URL will be that of the VMC on AWS HCX appliance and the credentials will be the Cloudadmin administrator or appropriate VMC account. Tip: for on-prem you can also use the vSphere Plugin for HCX, however given HCX works with some really old versions of vSphere, I’d recommend using the native UI of the appliance.
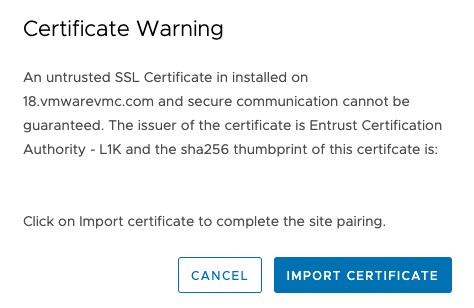
If the connectivity and credentials are correct, you’ll be prompted to accept the certificate.
Then under Site Pairing you should see the connection.
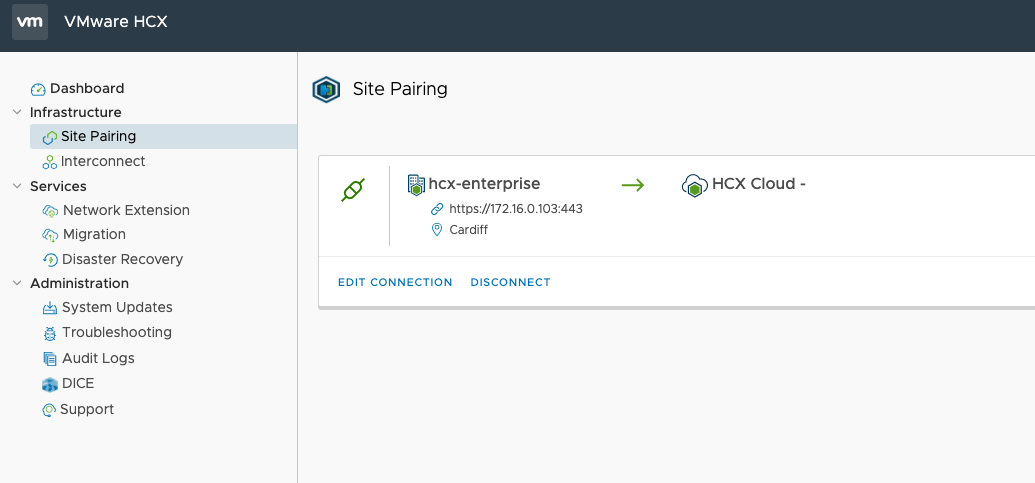
That’s the appliances paired and they are now in a state of needing to be configured prior to migrating workloads. I will cover this in a future blog post.